This article will be updated regularly as new tricks to improve X-Plane 12 performance are discovered, so stay tuned.
Tweaking graphics and power settings in Windows 11 plays a major role. Setting your power plan to “High Performance” ensures your CPU and GPU run at their maximum potential, avoiding frequency throttling that can hurt performance. Turning off indexing for drives that hold X-Plane 12’s installation can speed up file access times, while limiting Windows Defender’s real-time scanning for the X-Plane folder avoids unnecessary CPU usage. For systems with limited RAM, setting a custom virtual memory size can help avoid micro-stutters. Together, these tweaks turn X-Plane 12 run closer to its full potential.
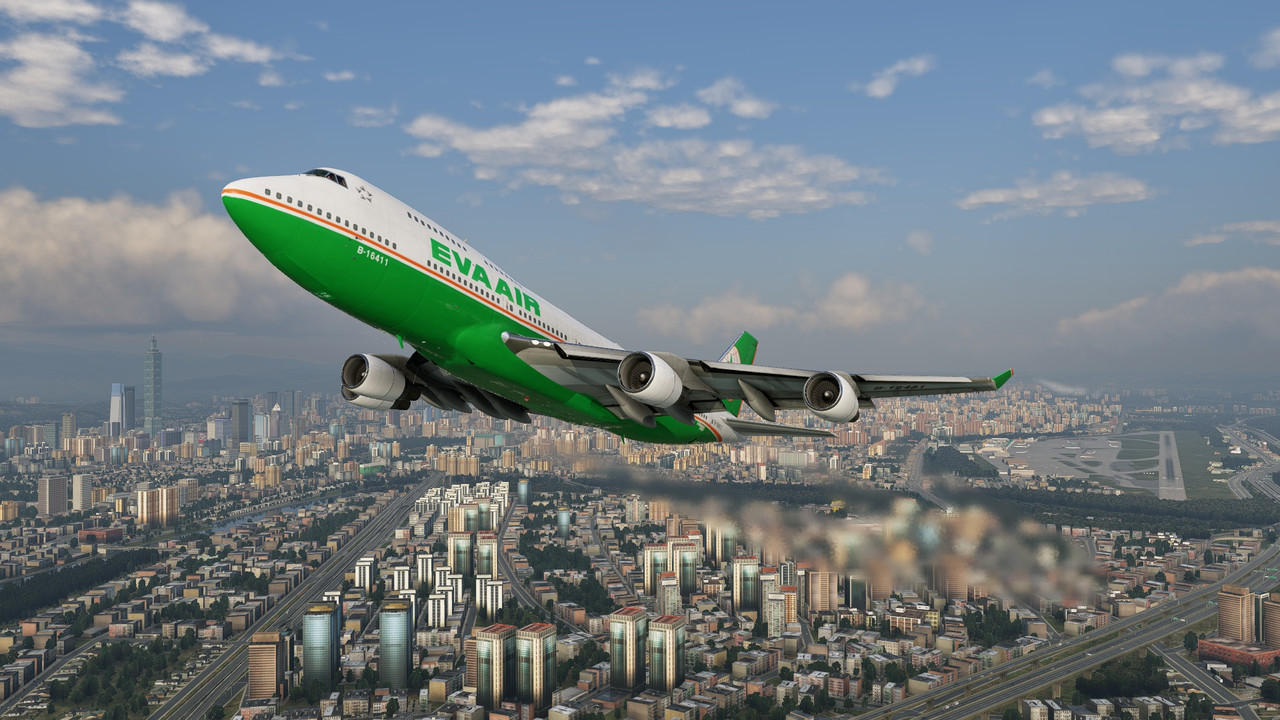
The following are the most effective performance optimization tips discovered so far for X-Plane 12 and on a Windows 11 environment. These tricks can help improve frame rates, reduce stuttering, and enhance overall smoothness. Since every system is different, apply these changes carefully and test after each adjustment. If you notice worse performance, simply revert the setting to its default. Click the arrow for step-by-step guidance on each trick.
Add an Exclusion in Windows Defender
Windows Defender constantly scans files and processes in real time. Excluding X-Plane 12 prevents Defender from scanning the game’s large number of assets and background file reads while flying. This can eliminate small micro-freezes or frame drops when new scenery or textures. Removing Defender’s scanning frees up CPU cycles for the simulator, leading to smoother frame times.
- Press Win + I to open Settings
- Go to Privacy & Security → Windows Security → Virus & threat protection
- Under Virus & threat protection settings, click Manage settings
- Find Exclusions and click Add or remove exclusions
- Click Add an exclusion → choose Folder
- Navigate to your XP12 installation folder
- At the XP12 installation folder, click Select folder
Adjust Graphics Settings
If you are using Smooth Motion with high-end PC, then you can skip this trick. In X-Plane 12, anti-aliasing (AA), 3D clouds, shadow quality, and rendering distance are often the biggest performance killers. Even powerful GPUs can see a 20–40% FPS drop when using higher AA settings. Low overcast cloud layer and dense storm clouds can halve FPS, especially when combined with AA. Lowering shadow quality is one of the easiest ways to recover 5–15 FPS without losing much visual fidelity. Increasing the rendering distance slider too far can CPU-limit the sim, especially in dense areas like big cities.
- Start X-Plane 12 and go to Settings → Graphics
- Set MSAA Antialiasing to 2x MSAA and uncheck Enable FXAA Antialiasing or…
- If using 4K resolution, set MSAA Antialiasing to None and check Enable FXAA Antialiasing
- Set Clouds Quality to Medium
- Set Shadow Quality to Low
- Set Rendering Distance to Medium
- Save changes by clicking Done
Disable Indexing
Disabling indexing can boost X-Plane 12 performance because it reduces background disk activity that competes with the simulator for storage bandwidth. Windows Search indexing constantly scans and catalogs files on your drives so you can quickly search for them later — but X-Plane 12 frequently streams large scenery files, textures, and assets from disk while you fly. If the indexer is running in the background, it can create extra read/write operations and increase drive latency, which may slow down scenery loading or cause micro-stutters when flying over detailed areas. This effect is more noticeable on slower HDDs, but even SSDs can benefit
- Right-click the Start button and select File Explorer
- Right-click the hard drive where XP12 is installed → Properties
- Uncheck Allow files on this drive to have contents indexed → Apply
Enable Hardware-Accelerated GPU Scheduling
Enabling HAGS (Hardware-Accelerated GPU Scheduling) can boost X-Plane 12’s performance because it changes how Windows handles graphics workload scheduling. For X-Plane 12, this can translate into slightly higher and more consistent frame rates, particularly if your CPU is already near its limit managing scenery, physics, and AI traffic. Reducing CPU overhead gives the simulator more processing time for its critical threads, resulting in smoother camera motion and fewer micro-stutters during flight. The benefit tends to be most noticeable on systems with powerful GPUs paired with mid-range CPUs or when flying in complex scenery areas where CPU bottlenecks are common.
- Right-click the Start button and select Settings → System → Display
- Scroll down and click Graphics then Advanced graphics settings
- Toggle Hardware-accelerated GPU scheduling to On
- Restart your PC to apply the change
Enable Smooth Motion
Smooth Motion, for RTX 40 Series or newer, is a driver-based AI frame interpolation feature from NVIDIA. It takes two rendered frames and infers (generates) an extra frame between them to smooth out motion. That effectively doubles the perceived frame rate in many cases — especially helpful in games that don’t already support “frame generation” (via DLSS Frame Generation or similar technologies).
- Install the GeForce Game Ready Driver Version 581.15 or newer with NVIDIA App
- In the NVIDIA App go to Graphics section
- If X-Plane.exe is not on the list, add it via Add a progman
- Then set X-Plane.exe → Driver Settings → Smooth Motion to On
Check out more tricks just below the screenshot.

If you discover a new method to improve performance or find a helpful tweak while following this guide, we’d love for you to share it with the community. Please consider leaving a comment to the author to let others know about your findings. Your insights can help fellow pilots optimize their systems more effectively and contribute to a richer, more collaborative learning experience.
Launch with High Priority
Launching X-Plane 12 with High priority using a simple .bat file can boost performance because it tells Windows to allocate more CPU time to the simulator compared to lower-priority background tasks. Normally, Windows balances CPU resources across all running processes, which means system tasks, updaters, and background services can occasionally interrupt or delay X-Plane’s threads — causing micro-stutters or slower frame pacing. By running X-Plane at High priority, you make sure its rendering, physics, and scenery-loading threads get preferential access to the CPU, which helps keep frame times more consistent. This tweak is especially noticeable on systems where CPU usage is close to its limit (for example, in busy airports, with AI aircraft, or heavy weather enabled).
- Create .bat file using Notepad or similar app, containing the following:
@echo off
start "" /HIGH "C:\Path\To\X-Plane 12\X-Plane.exe"
exit - Replace the path with your real X-Plane 12 path
- Save as
Launch_XPlane_High.bat
and run that to start X-Plane 12 at HIGH priority
Remove Outdated Cache Files
Emptying X-Plane 12’s Output/shadercache folder can boost performance because it forces the simulator to rebuild its compiled shaders from scratch, eliminating old or corrupted cache files that may be slowing things down. Over time, as you install new scenery, update drivers, or switch between different graphics settings, the cached shader data can become mismatched with your current GPU configuration. This can lead to stutters, longer load times, or even rendering glitches. By clearing the shadercache folder, you prompt X-Plane to recompile fresh, optimized shaders that match your current setup, often resulting in smoother frame pacing and fewer micro-stutters during flight. While the first load after clearing the cache may take longer (because X-Plane needs to rebuild everything), subsequent sessions usually run faster and more consistently.
- Right-click the Start button and select File Explorer
- Go to your XP12 installation folder → Output → shadercache
- Delete all the subfolders inside shadercache folder
- Repeat steps 1. – 3. after every XP12 and GPU driver update installation
Set High Performance Power Plan
The Windows Power Options → High Performance mode can make X-Plane 12 smoother, mainly by keeping the CPU ready and reducing stutters in CPU-heavy scenarios. FPS gains are usually small, but frame time consistency often improves noticeably.
- Press Win + R, type
control
, press Enter and select Power Options - Select High performance to activate it
Set NVIDIA Control Panel Settings
Setting up the NVIDIA Control Panel correctly for X-Plane 12 can boost performance because it ensures your GPU is being used as efficiently as possible and that Windows isn’t applying unnecessary overhead to rendering tasks. These tweaks give X-Plane 12 priority access to GPU power, leading to smoother frame pacing, fewer stutters, and overall better performance without sacrificing stability.
Setting | Recommended Value | Why |
---|---|---|
Anisotropic Filtering | Application-controlled | Let X-Plane handle it (set to 16x in-game if you want clarity) |
Antialiasing – FXAA | Off | Use in-game AA for better control |
Antialiasing – Mode | Application-controlled | Avoids double-AA and wasted performance |
CUDA – GPUs | All | Ensures all available CUDA cores are used |
Low Latency Mode | On (or Ultra if you have high FPS) | Reduces input lag, helps frame pacing |
Max Frame Rate | Off (or set to monitor refresh-1) | Let X-Plane run freely; only cap if you need consistent frame pacing |
Multi-Frame Sampled AA (MFAA) | Off | Avoids added overhead |
OpenGL Rendering GPU | Your main GPU | Ensures X-Plane doesn’t use iGPU |
Power Management Mode | Prefer maximum performance | Keeps GPU clocks high, avoids downclock stutters |
Preferred Refresh Rate | Highest available | Ensures monitor runs at native refresh |
Texture Filtering – Anisotropic Sample Optimization | On | Saves GPU resources, minimal visual difference |
Texture Filtering – Negative LOD Bias | Allow | Allows sharper textures |
Texture Filtering – Quality | High performance | Boosts FPS slightly at minimal quality loss |
Texture Filtering – Trilinear Optimization | On | Small performance boost |
Threaded Optimization | On | Lets X-Plane use multi-threading effectively |
Triple Buffering | Off (unless you use V-Sync) | Saves GPU latency if V-Sync is off |
Vertical Sync | Off (control in-game) | Use in-game V-Sync if needed |
Set Virtual Memory Manually
If you run out of physical RAM, Windows uses virtual memory to keep apps running instead of crashing. Virtual memory uses your disk (SSD/HDD), which is much slower than RAM. More virtual memory allows you to have many browser tabs, programs, or background services open without freezing. If you have less than 32 GB of RAM then you should set virtual memory manually. Don’t set both initial and max size too low — Windows needs virtual memory even with a lot of RAM. If you experience crashes or “out of memory” errors, increase the maximum size.
- Press Win + R, type
sysdm.cpl
, and press Enter - Go to the Advanced tab
- Click Settings under Performance
- In the new window, go to the Advanced tab
- Click Change… under Virtual memory
- Uncheck Automatically manage paging file size for all drives
- Select the drive where Windows is installed (usually C:)
- If you have 32 GB of RAM or more, select System managed size and skip to step 12
- If you have less than 32 GB of RAM, select Custom size
- Initial size (MB): Same as your installed RAM (e.g., 16 GB RAM → 16384 MB)
- Maximum size (MB): 1.5x to 2x your installed RAM (e.g., 16 GB RAM → 24576 MB to 32768 MB)
- Click Set, then OK
- Close all windows and restart your PC for changes to take effect
The tricks came to an end here, more to come later on.

Finally, optimizing Windows 11 for X-Plane 12 can significantly improve performance, reduce stutters, and create a smoother flying experience. Together, these tweaks transform Windows into a lean, flight-sim-focused environment that lets X-Plane 12 use as much of your system’s power as possible, resulting in a noticeably smoother, more immersive simulator experience. Remember, this article will be updated regularly as new tricks to improve X-Plane 12 performance are discovered, so stay tuned.